When your working with puzzles, it's always great to have a little guidance. Whether you've been teaching for 1 year or 10 years, it's always great to have some extra help. Here are some tips and tricks for working with paper puzzle pieces.
Tip #1 - Gather your materials!
Let's face it. There are not a lot of puzzles for subjects like the 3 Branches of Government or animal life cycles. Time to grab all the materials, clip art included, for the puzzle you'd like to make. Save some time by having the source materials with you for easy access.
Tip #2 - Find some puzzle pieces!
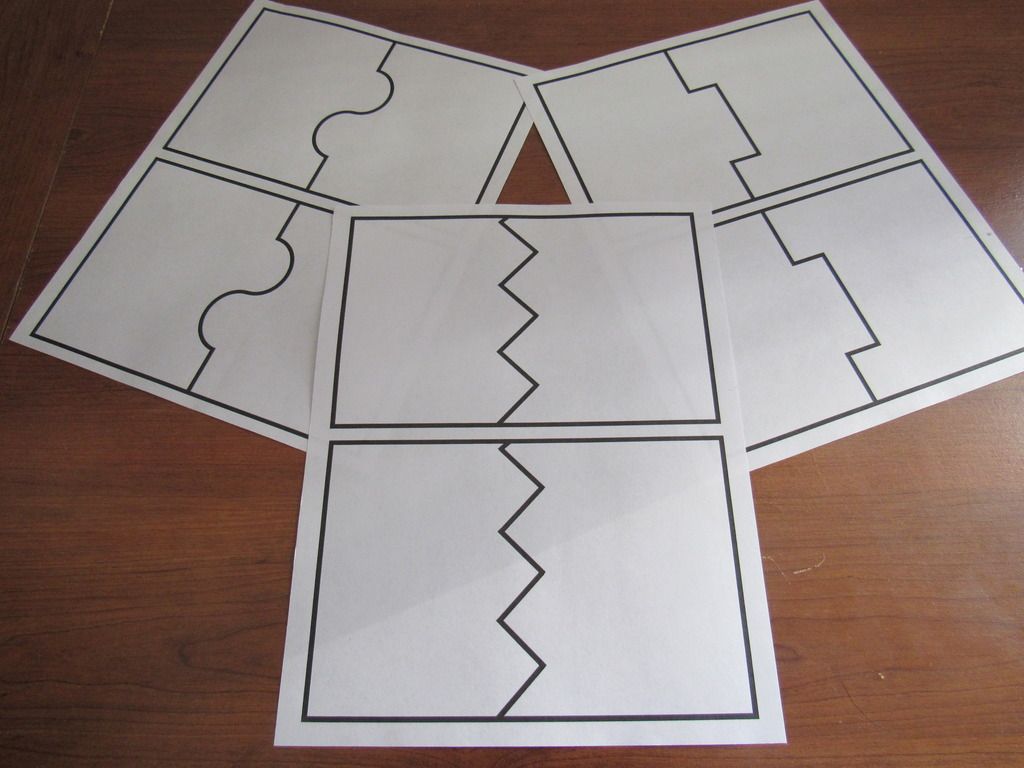
When you have your designs all figured out, it's time to decide what type of puzzle you want. Do you want the traditional puzzle or something different. Maybe a two piece puzzle or even a 3 or 4 piece. I have a few free puzzle templates in my TPT Store.
Tip #3 - Use strong paper!
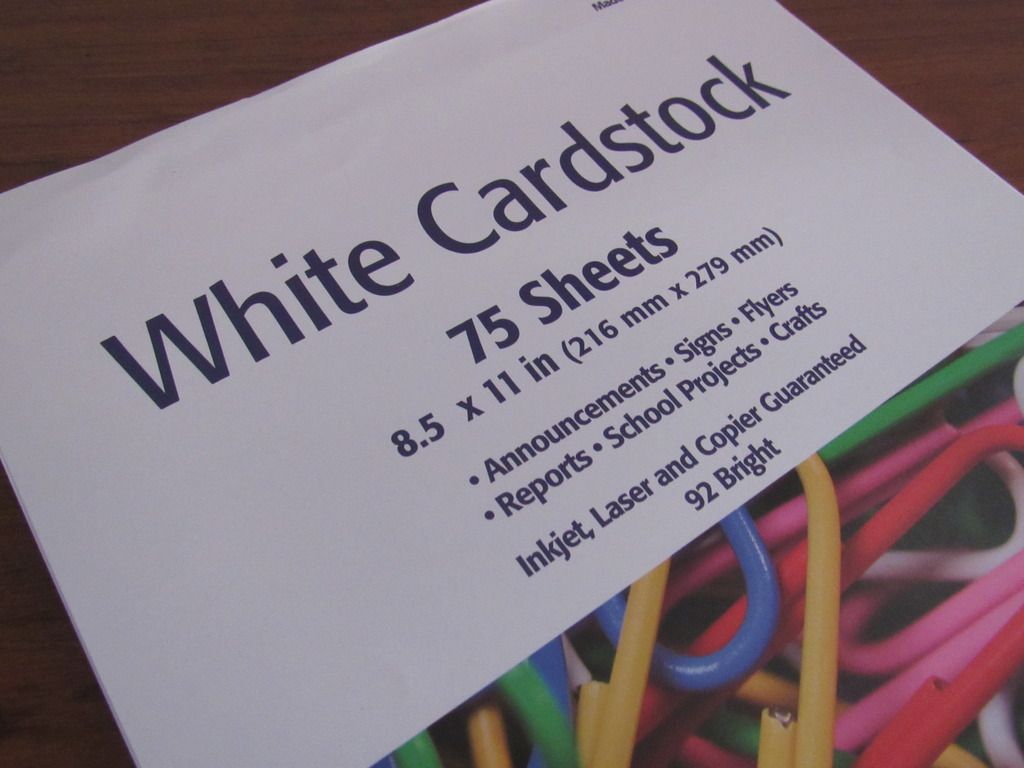
If you decide to create your own, print them out on some durable paper. I bought a pack of 75 white cardstock sheets from Big Lots from $2.50. The stronger the paper, the longer they will last!
Tip #4 - Laminate them!
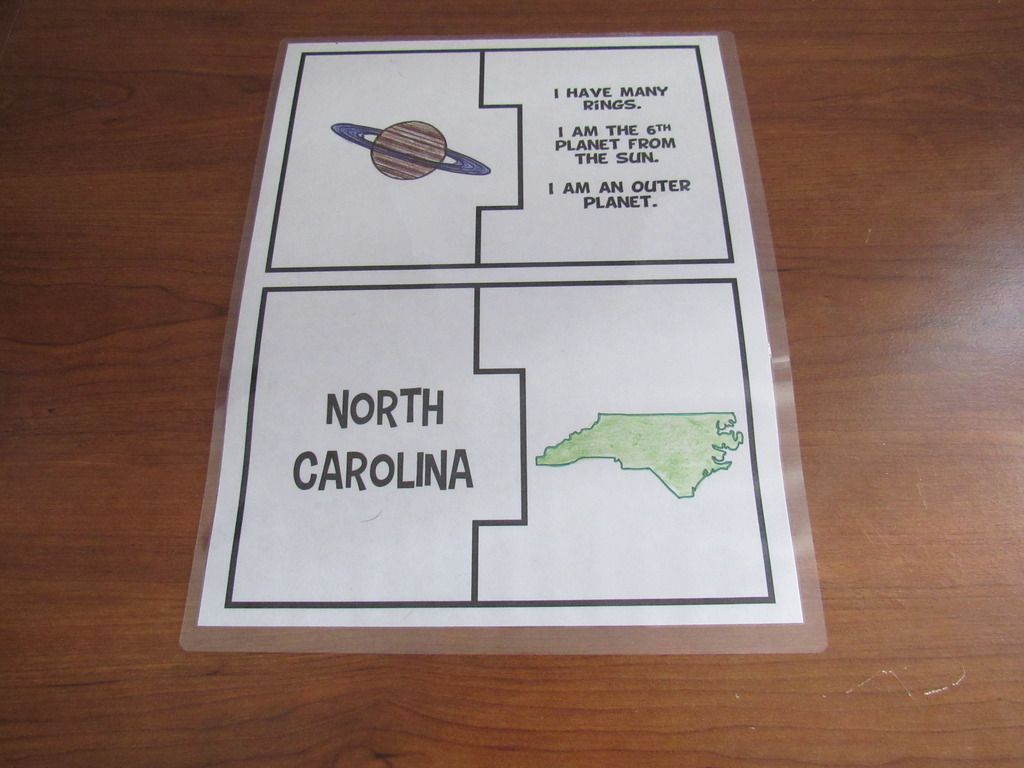
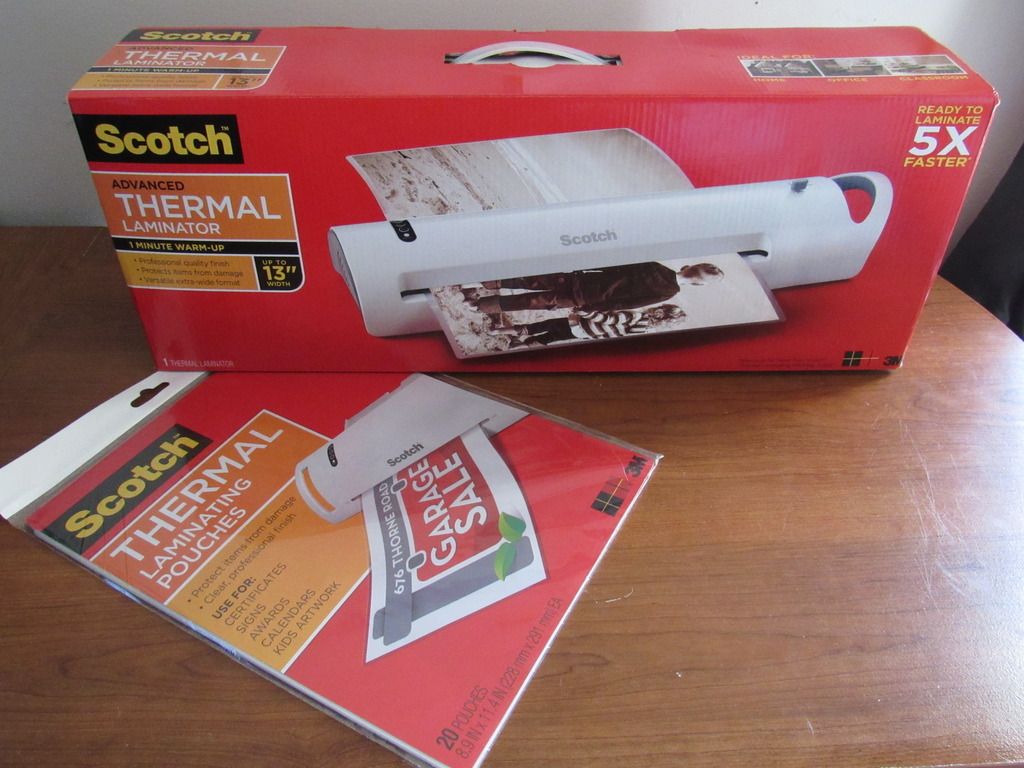
Just about every school has a laminating machine. Once you're done print and cutting them our, get them laminated. Laminating the cards will help them last much longer. If your school doesn't have a laminator, simply take them to Office Max, Staples, or a postal store (like Postal Annex) and have them laminated there, though it can get a little pricy.
You could always buy your own lamination machine. They can run anywhere from $20 to $100, depending on the model and make. I bought mine from Wal-Mart for $45 (including the 20 thermal pouches). They do sell starter kits for $20 which includes 3 pouches.
Tip #5 - Store them!
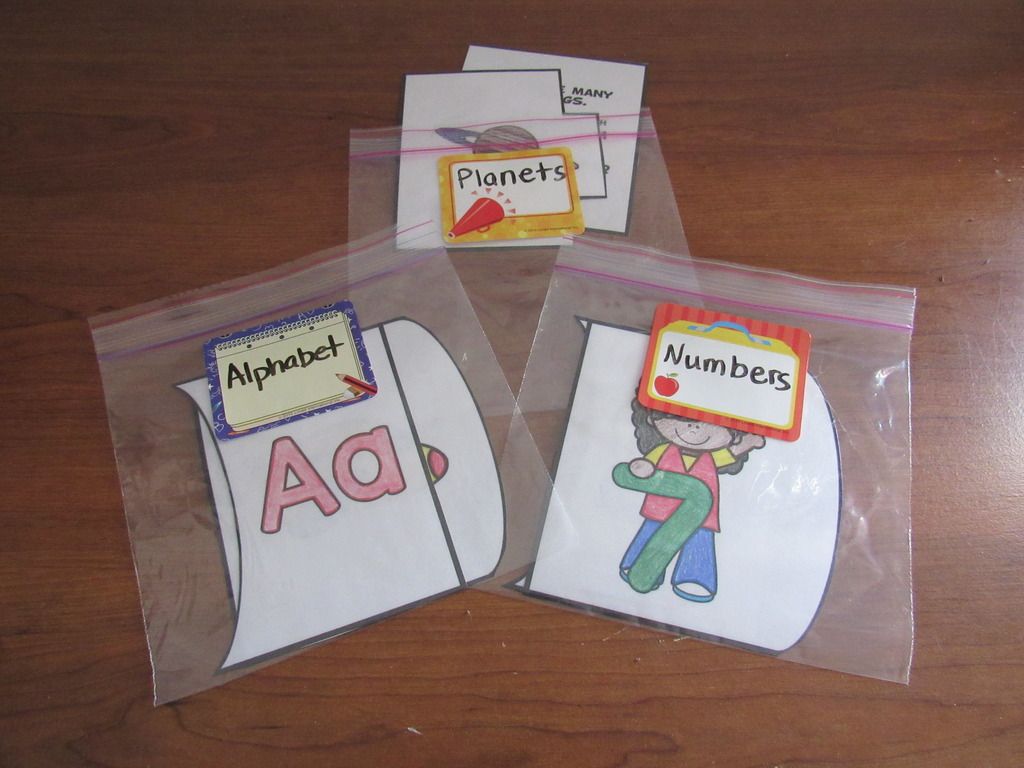
Now your cards are ready for student use, but where to store them? I've seen teachers store them in soap bar boxes from the dollar tree. Others have them in plastic bags with rings. If you're on a budget, I'd go for the latter. You can buy plenty of zip-lock sandwich bags and label them accordingly.
Tip #6 - Buy them
If all else fails, buy them already made! Time is always a factor. If you need it by Friday and it's already Wednesday, you may have to buy them yourself. There are plenty of sellers on TPT with tons of puzzle pieces sets.
Tip #7 - Teach Kids to handle with care!
One of the most important tips is to teach your students to handle the puzzle pieces with care, especially if you made them. Whether you plan to use them 1 time or 100 times, students should know that these pieces need to be taken care of properly so that student next year can enjoy them too.
I hope you found these tips useful in your classroom. Don't forget to stop my TPT store for some printable puzzle pieces!


No comments :
Post a Comment