Showing posts with label Create it Tutorial. Show all posts

27 January 2016

5 Fantastic Tricks & Tips - Alignments


Welcome to my 5-part series of  "5 Fantastic Tricks & Tips". This series shows you some awesome tricks and tips for building your PowerPoint presentations. Posts go up every Wednesday. 

Today, I'll show you all about alignments.

What do I mean by alignments? In terms of PowerPoint, it's where objects, pictures, and text boxes are located on a slides. It can be on the left or right side, the bottom or top, or in the center. If you like to have all your objects perfectly aligned, this is the tool for you. Making sure everything is straight can be nerve-wrecking, but with a few clicks, everything will be as you like it.


To align objects, first select the objects you wish to align. Next, click on "Format" and choose how you wish to align your objects. There are many options to choose from.


There are several options to choose from. You can align objects to the:
  • left, center, right
  • top, middle, bottom


You can also distribute objects so that they are evenly spaced out horizontally and vertically. Simply click on all the object you wish to space out evenly and distribute horizontally or vertically.

Another way to help with alignment is to use guidelines on the slide.


Guidelines can be used to help place clip art and pictures onto a slide. The guidelines will appear on all the slides, but won't appear when you print out the slides or play the PowerPoint in slideshow mode.

To turn on the guidelines, click on "View" and check the box labeled "Guidelines". There's also options for a ruler (similar to the ruler in Microsoft Word) or a guide (1 vertical and 1 horizontal line).


I hope these tips come in handy! They're a big help when you create product covers, worksheets, games, and other teaching materials. Please share & comment if this was helpful Don't forget to check out Part 1: Selection Pane and Part 2: Using Sections.


20 January 2016

5 Fantastic Tricks & Tips - Using Sections


Welcome to my 5-part series of  "5 Fantastic Tricks & Tips". This series shows you some awesome tricks and tips for building your PowerPoint presentations. Posts go up every Wednesday. You can also check out the replay on Katch.me or at the bottom of the post.

Today, I'll show you all about using sections.

Just what is sectoins? Using sections in PowerPoint can be very useful, for both your classroom and your teacherspayteachers store. A PowerPoint can be divided into sections, allowing for easy access to certain slides, especially when there are multiple slides.

To create a section, simply right click on the slide panel and click "Add Section" at the bottom of the list.


You can create as many sections as you like. You can also rename sections too. This helps when creating flyers for different social media platform or for creating different product covers for a set. 

Simply right click on a section. Select "Rename Section" and rename the section. Simple!

Here's a great example. I make covers of all my game sets. Instead of having multiple ppts with different covers, I can simply file them all in one single PowerPoint.


You can easily collapse all the sections for a quick search and expand them when needed. You move sections up or down, or just drag-and-drop sections where needed. This makes it easy when you have to move 10+ slides. Right click on any open section and choose your options.


I hope these tips come in handy! They're a big space saver when you have so many different projects to do on PowerPoint and you want them all in one PowerPoint. Please share and comment if this was helpful! Don't forget to check out Part 1: Selection Pane.


13 January 2016

5 Fantastic Tricks & Tips - Selection Pane


Welcome to my 5-part series of  "5 Fantastic Tricks & Tips". This series shows you some awesome tricks and tips for building your powerpoint presentations. Posts go up every Wednesday. You can also check out the replay on Katch.me or at the bottom of the post.

Today, I'll show you a very under utilized tool know as the selection pane.


Just what is the selection pane? The selection pane displays all the objects on the current slide. Every object has a name, whether it's a text box, shape, or photo. 


The Selection Pane is not immediately displayed in powerpoint. To display the selection panel:

  • select any object on the slide
  • The "Drawing Tools" panel should appear at the top. Click on "Format".
  •  Click on "Selection Pane.


Just what does the selection pane do? Aside from displaying the objects on a slide, it can help you manage your layers (who's in front and who's behind) and identifies/hides objects.


Did you know? You can name your objects? That's right. Just double click on a shape in the selection pane and you can name your objects. This comes in handy when you have several objects on a page.


This helps when you make PPT Games! When you making buttons to move to the next slide, you can actually name them "Next" or "Previous" rather than "Picture 1" or "Picture 2". This helps your you know when you use "triggers" in animations.


To name an object, open the selection pane, double click on an object on the pane and type your desired name.


One feature of the selection pane is to show or hide objects. This is useful when changing a powerpoint game to task cards. You can do so by clicking the "eye". An open eye means the object is visible. A closed eye means it's still there, but it is not visible. Perfect for hiding answers on games and printing them as task cards.


I hope these tips come in handy! They're a big help when you create product covers, worksheets, games, and other teaching materials. Please share and comment if this was helpful!


04 September 2015

Change your File Folder icon!

 photo Cover_zpslftbo0mn.png

This post will save Clip Art addicts! If you're like me and have tons and tons and tons of clip art, it's always hard to find where it is. This post will save your insanity and make you buy more clip art.

One day while working  on some games, I was trying to find some clip art I knew I had somewhere. I kept thinking "I know I have that clip art, but I don't know where it is". Luckily, I knew who made it and browsed through that folder, but I kept thinking to myself "There has to be a better way to see what's in each folder without actually clicking on this plain folder". I decided to get online and find an icon maker somewhere. Alas, I found a website ICO Convert and my mind was blown!

 photo Pic 1_zpssjlnxdh5.png

This website allows you to take ANY image and turn it into a computer icon.

Simply upload your image.


 photo Pic 2_zpstrjr0ayg.png


Crop it. This is optional. If the clip artist included the cover page, you can just use that.
 photo Pic 4_zpsrhsa4gh4.png

Design it (if you want).


 photo Pic 5_zpsyycjvavf.png


Convert it! I just kept mine all the same size.

 photo Pic 6_zpsvwyaqklq.png
Download the icon to your PC and add it to the clip art folder.

 photo Pic 7_zpsebv2s7vy.png

Find the folder you wish to change the icon for. In this case, Krista Wallden's Las Vegas Clip Art.  Right click and choose "Properties".

 photo Pic 8_zpsihezccch.png


When the menu pops up, click "Customize" tab. At the bottom, click "Change Icon".

 photo Pic 9_zpsraixp2fa.png


Another menu will pop up. Choose "Browse" and find your icon. Click "Open" and then "OK" twice.

 photo Pic 10_zps4hp49alo.png

You're done. Sometimes it will not change immediately. Simply "Refresh" or on in and out of the folder to see the change.

 photo Pic 11_zpsdo3dilnd.png


No trials, no fees, no limits! Making icons has never been simpler. I wish I had found this when I started downloading clip art, but now can make my over icons!

You can use any image. I'm OCD so everything must be perfect. You can make your own icons. I made my icon using Powerpoint. I changed the paper size to 6.1 so that won't have to worry about size. Squares are best suited for icons.

You can click here you get the square powerpoint I use to make icons. Simply make your icons then save them as PNGs.

A few things I did notice:

1.) If you move the folder, the icon will change back to a folder. But since you made the icon, you can simply change it back.
2.) Also, renaming the folder will change the icon back to the folder. Be sure you name the folder what you want before changing it.
3.) The icon will only show up on the computer you change it on. If you use flash drives, it will only show up on the computer you changed it on.


24 July 2015

Create an AWESOME Coupon Book!


Do you have coupons or reward tickets in your classroom? Here's a fun way to organize all those coupons and reward tickets you give out to your students in 5 easy steps.
 
Here's everything you'll need to make your book:
  • Coupons/ Reward Tickets
  • Scissors
  • Stapler
  • Scrapbook Scissors (Optional)

Step 1: Print it!
Print out your coupons. There are several different coupons/reward tickets on TPT. You can purchase my coupon book for only $2.


Step 2: Cut it!
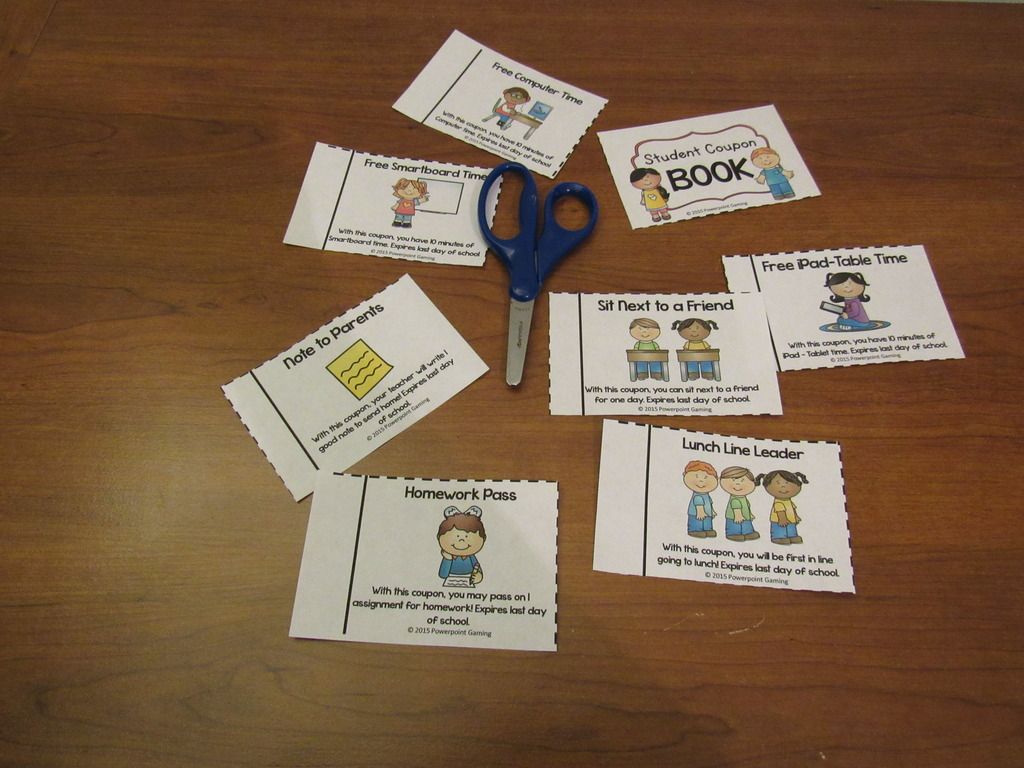
Cut out each coupon/reward ticket. With my coupons, simply cut on the dotted lines.


Step 3: Organize it!
Add whatever coupon/reward tickets you like. Choose the ones that apply to your class. You don't want a coupon for "Free Smartboard Time" if you don't have a Smartboard in your classroom! Line up the solid black lines as best you can.


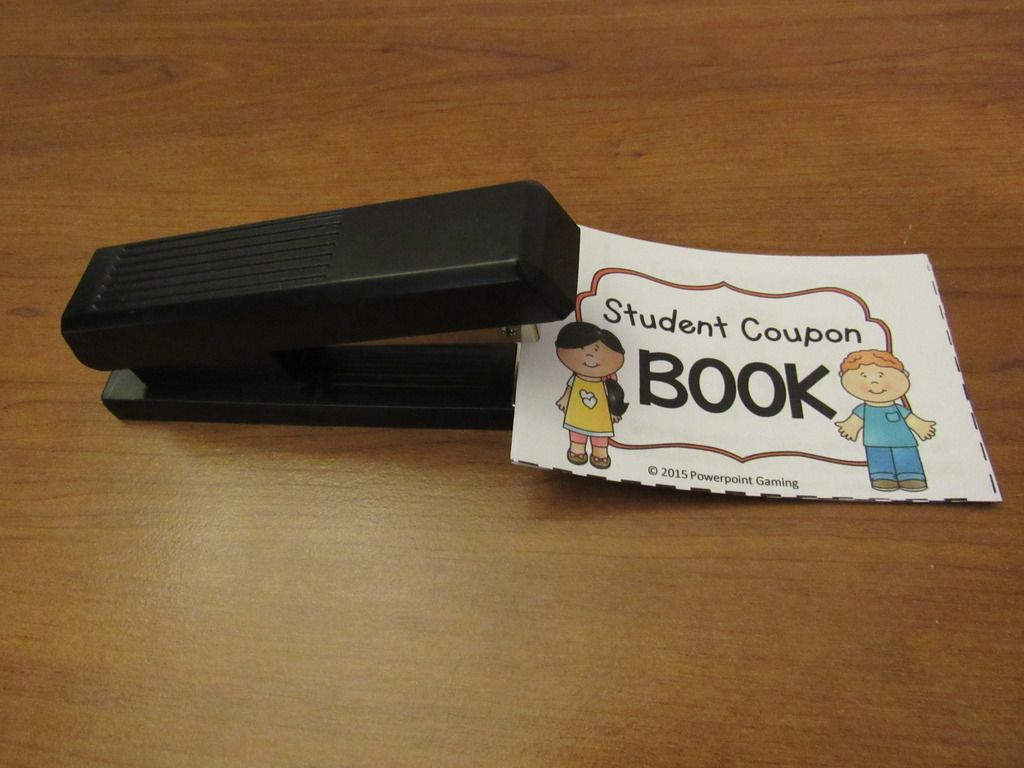
Step 4: Staple it!
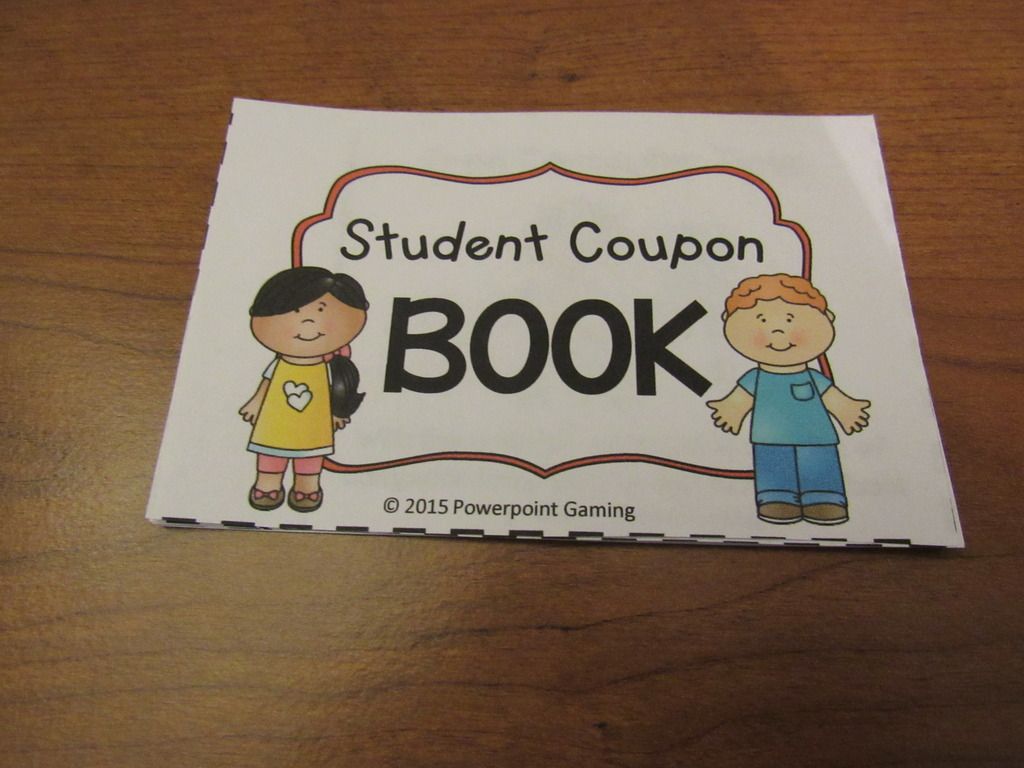
Staple the book together in the center left-hand side.


Step 5: Perforate it!
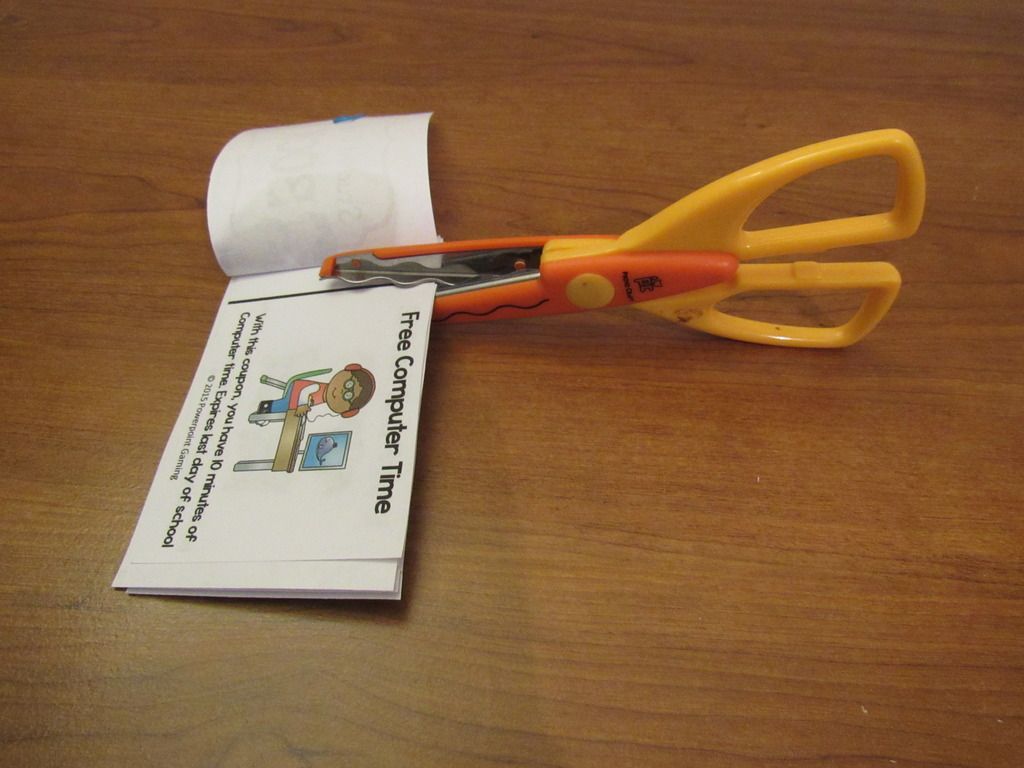
Here the tricky part! Open the book. Cut about 1 inch into the solid black line on the top AND bottom of each coupon. DO NOT CUT ALL THE WAY THROUGH. There should be about 1 inch of paper still there. Depending on how many coupons/reward tickets you have, you can cut them all at once. You can use the Scrap paper scissors  for cool wavy designs.


Create books to give out to your students or create a book of the same coupon and hand them out as you go! You can purchase my coupon book which includes 15 different rewards.


I hope you enjoyed this "Create it" tutorial. Now's your chance to win a copy of my "Classroom Coupon Book". Giveaway ends 7-27-2015!


LinkWithin

Related Posts Plugin for WordPress, Blogger...